For a description of templates and sets see Important Concepts.

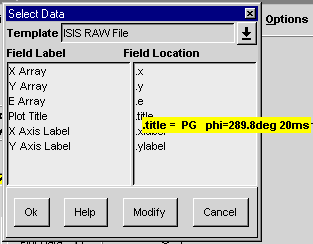
The template for the current set can be changed by selecting a template from the "Template" combo box. The "Field Label" box lists fields which have been set by the selected template and the "Field Location" box shows what data elements have been assigned to these fields. For example, if .x appears opposite the label "X Array", then the value of .x will be used whenever the program requires an X array.
The contents of data elements can be seen by right clicking on them. A text ballon will then appear containing the elements value, which will disappear when the mouse is moved. In the picture above, the contents of .title is shown in this way.
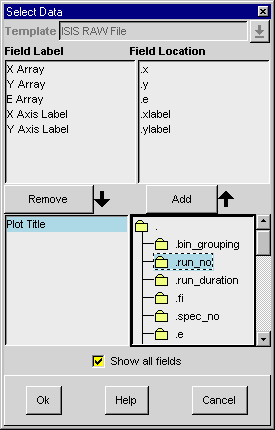
Clicking the "Modify" button expands the window, allowing a new template to be created from the existing one.

Labels can be removed or re-assigned by selecting a label from the top left box and clicking the "Remove" button. To add a new label select the label and its corresponding value, from the lower boxes and then click "Add". The box to the lower right is in fact a tree representation of the current set, which can be navigated in the same way as a directory tree structue in a file selection box. When "Show all fields" is selected, all fields available in the set are shown, not just those which contain arrays. This must be clicked in order to define titles and labels within a template.
To save a template simply click "Ok", and supply both a template and file name in the dialogue box which follows. The filename should not include an extension as .gtp will be added automatically.

The new template will be saved in the user template directory (see Program Defaults).